
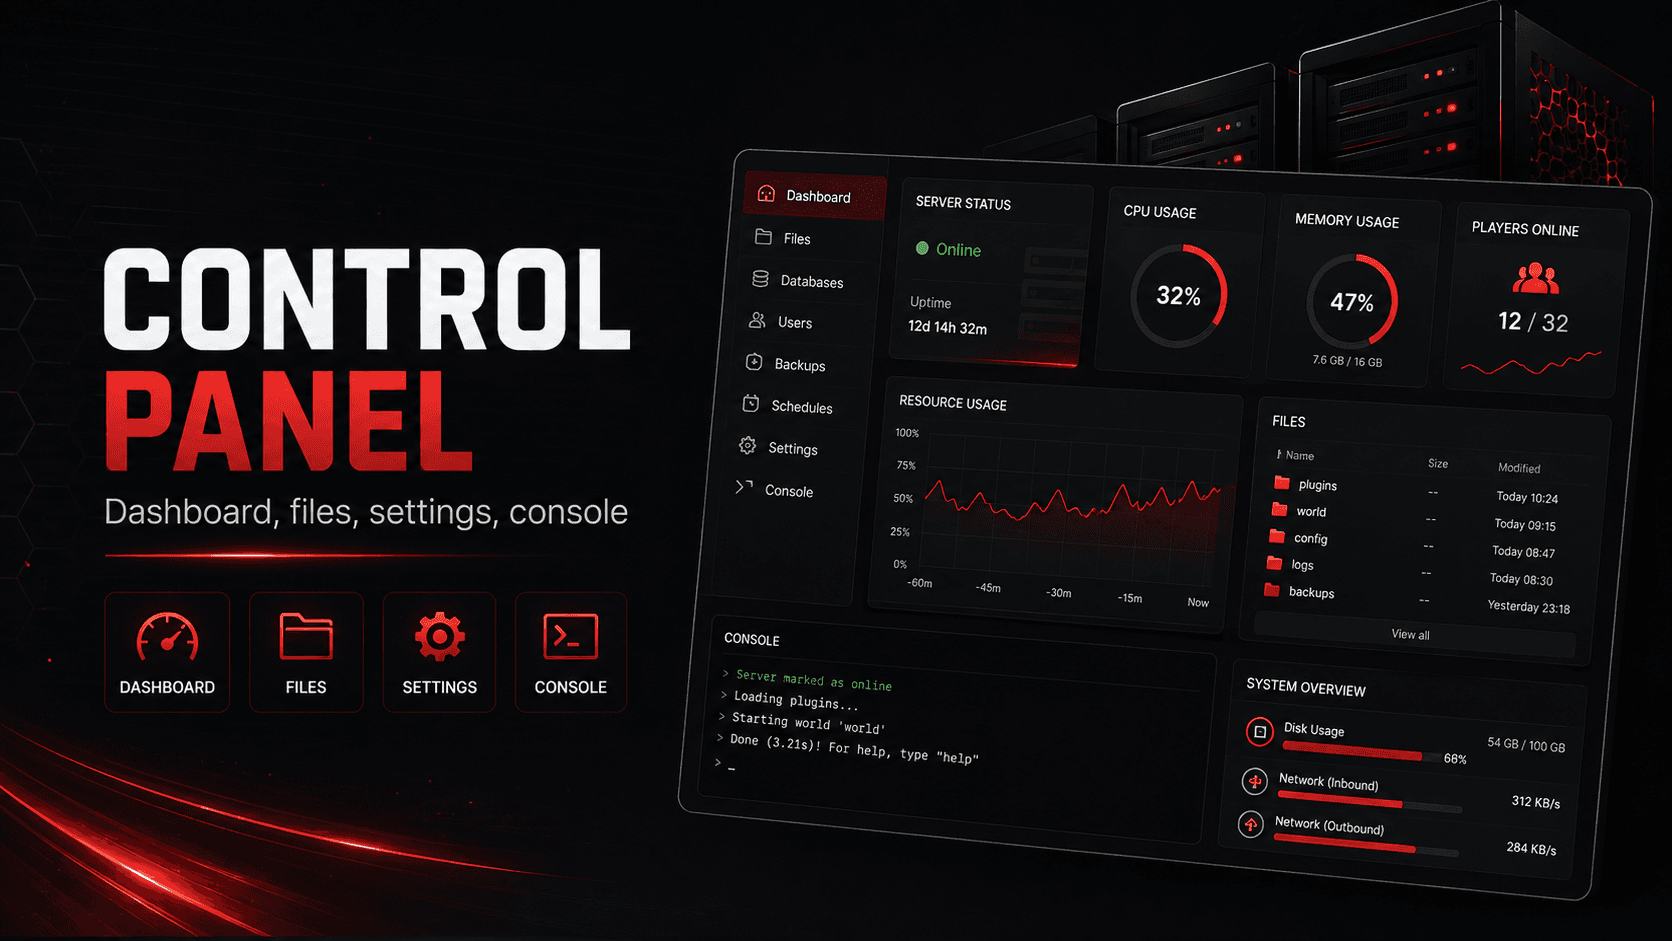
Easy Server Management with the Control Panel
A tour of the GameGrid control panel: which tabs your server has, and what each one does.
Control Panel Overview
Every GameGrid server comes with a full web control panel, reached from your dashboard.
It runs in your browser. There is nothing to install, and it works on desktop and on mobile.
Which tabs your server has
Most servers get the same eight tabs, and some games add more on top. A game that has none of the extras simply does not show them.
| Tab | Which servers have it |
|---|---|
| Overview | Every server |
| Settings | Every active server |
| Files | Every server |
| Console | Every active server |
| Mods | Every active server except vanilla Minecraft |
| Admin | Every active server |
| Backups | Every server |
| Events | Every active server |
| Economy | 7 Days to Die, Minecraft, Palworld and Valheim |
| Live Map | 7 Days to Die and Minecraft |
| Game Tools | Palworld and Valheim |
| WindRose Plus | Windrose |
Vanilla Minecraft has no Mods tab because vanilla Minecraft has no mod support. The modded variants — Paper, Forge, Fabric and NeoForge — all have one.
Palworld and Valheim have live maps too, but theirs live inside Game Tools rather than on a separate Live Map tab.
A deactivated server keeps only Overview, Files and Backups. Your files and your backups stay reachable while the server is inactive; the tabs that would act on a running server are withdrawn until you renew.
File Manager
The Files tab lets you browse, upload, download, edit and delete your server’s files from the browser.
Upload with the "Upload" button, create a folder by typing its name in the toolbar box, and click a row to select it — the actions for that row appear once it is selected.
Text files up to 1 MB open in a built-in editor. Executables, native libraries and platform-managed files are not listed at all, so there is nothing there to break.
The Upload button sends the file through the panel itself, which caps it at roughly 1.5 MB. Anything larger goes over FTP or SFTP, and the host, ports, username and password for that are on the Overview tab. Full detail is in Using the File Manager.
Mod Installer
The Mods tab has two views: "Installed" and "Browse marketplaces".
"Browse marketplaces" searches the mod sites that carry mods for your game. Press Install on a result and a file picker opens, because most mods publish several files and you have to say which one. Pick the file and it is downloaded, checked and put in the right folder for your game. Restart the server afterwards.
Where a marketplace cannot install a mod for you, the panel says so on the result itself rather than giving you a button that fails. Steam Workshop is the one that sometimes cannot; when it says so, download the file yourself and upload it through the File Manager.
The "Installed" view lists each mod with its version where the marketplace publishes one, where it came from, and whether it is enabled. Each row has an Enable/Disable button, which moves that mod’s files in or out of the loader’s folder, and a Remove button.
More detail is in Installing and Managing Mods.
Which marketplace your game uses
The marketplaces on the Browse view are the ones that carry mods for your game, so the list is different from game to game.
| Game | Marketplaces |
|---|---|
| Minecraft (Paper) | Hangar, CurseForge, Modrinth, Nexus Mods |
| Minecraft (Forge, Fabric, NeoForge) | CurseForge, Modrinth, Nexus Mods |
| Minecraft (vanilla) | None — vanilla has no mod support |
| Palworld | CurseForge, Nexus Mods, Steam Workshop |
| Valheim | Thunderstore, Nexus Mods |
| 7 Days to Die | Nexus Mods |
| Windrose | CurseForge, Nexus Mods |
Mod loaders
Valheim mods need BepInEx, and the Mods tab has an Install button for it above the two views.
Palworld uses UE4SS for script mods; .pak content mods work without it. UE4SS is installed from Palworld’s own Game Tools tab, and the Mods tab reports whether it is there with a link across to it.
Windrose uses UE4SS the same way, but it cannot be installed from the panel. The Mods tab reports its status only, so open a support ticket if you need it changed.
Console Access
The Console tab streams your server’s output live, and a badge in the header says whether the stream is Live, Connecting or Reconnecting — so a quiet server is never mistaken for a broken connection.
You can type commands into the box at the bottom, just as if you were at the server terminal. Do not put a slash in front of them.
Error lines are prefixed with [ERROR], and commands you send are prefixed with [CMD]>.
Use "Auto-scroll" to follow new output, "Refresh" to reload the stored history, and "Clear View" to empty your own view — Clear View does not touch the server or its log.
Valheim is the exception. Its server program accepts no typed commands, so its Console tab shows the live log only and points you at Valheim’s Game Tools tab for saving the world, broadcasting and giving items.
Full detail is in Using the Live Console.
Player Management
Player management lives on the Settings tab: pick "Player Management" in the left-hand list, then expand the list you want.
Which lists you get comes from the game, not from the panel — admins, whitelists and ban lists where the game has them.
| Game | Lists |
|---|---|
| Minecraft | Admins / Operators, Whitelist, Banned Players, Banned IPs |
| 7 Days to Die | Admins, Whitelist, Banned Players |
| Valheim | Admin List, Permitted List (Whitelist), Banned List |
| Palworld | Banned Players (Native), PalDefender Bans, PalDefender Whitelist, PalDefender Admin IPs |
| Windrose | None here — admins are Steam64 IDs on the WindRose Plus tab |
Adding or removing an entry writes straight into the game’s own file. Whether the running game re-reads that file without a restart is up to the game — most reload bans and whitelists on their own, and a restart always applies them.
Admin levels, the identifier each list expects and the rest of the detail are in Configuring Server Settings.